Installing a sump pump involves digging a pit, placing the pump, and setting up a discharge pipe to move water away from your home. It’s a detailed job, but it can be done with the right tools, a bit of patience, and careful planning.
This article covers everything you need to know—from what a sump pump is and how it works to the tools you’ll need and each step of the installation process.
Whether you’re trying to stop a damp basement or preparing for heavy rain, this guide will walk you through the basics and help you decide if it’s something you want to DIY or hire out.
What Is a Sump Pump?
A sump pump is a small pump installed at the lowest point of a basement or crawl space. Its job is to remove water that collects in a sump pit and push it outside, away from your home’s foundation.
If you live in an area with a high water table or your basement tends to flood during storms, a sump pump helps keep the space dry. It works with gravity and simple plumbing to prevent water damage, mold growth, and musty smells.
Most systems run automatically and turn on when water reaches a certain level in the pit.
How Does a Sump Pump Work?
A sump pump works by detecting rising water levels in a sump basin and pumping that water away through a pipe. When the water gets high enough, a float switch activates the pump, which pushes water out through a discharge line to a safe spot outside.
The key parts of the system are the sump basin (a bucket-like container), the pump itself (usually submersible or pedestal), and the discharge pipe.
Many setups also include a check valve to keep water from flowing back into the pit. Once installed, the system mostly runs on its own and only needs occasional maintenance.
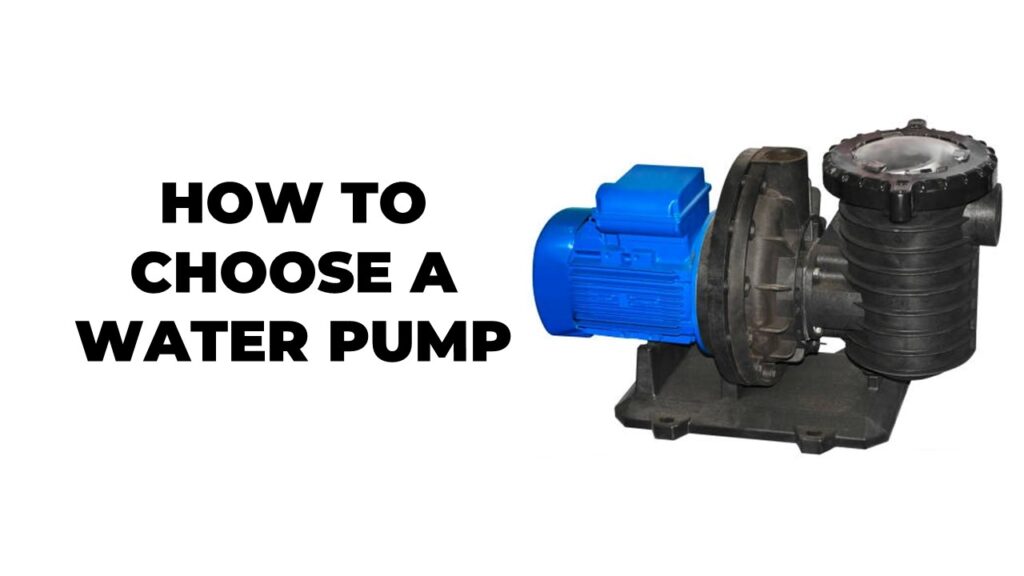
Types of Sump Pumps (And How to Pick One)
There are two main types of sump pumps. The right one depends on your basement setup, how much water you expect, and whether the space is finished or unfinished.
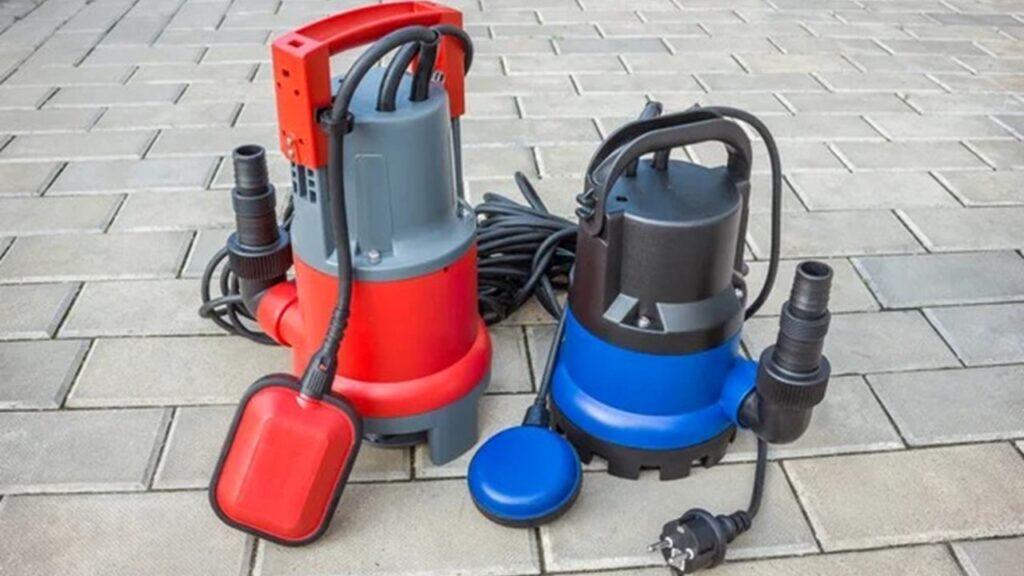
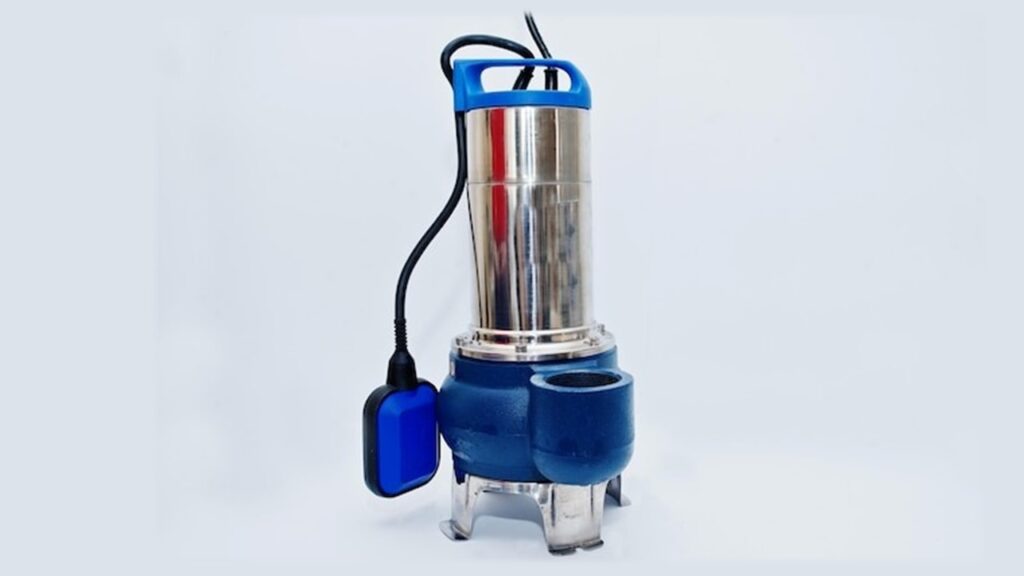
Submersible Sump Pump
This type sits fully inside the sump pit and is covered by water when it runs.
- Best for: Finished basements
- Pros: Quiet operation, sealed motor, more powerful
- Cons: Costs more, harder to access for repairs
Pedestal Sump Pump
The motor stays above the sump pit, while the pump sits below.
- Best for: Unfinished basements or utility rooms
- Pros: Cheaper, easier to repair
- Cons: Louder, not ideal for living spaces
Battery Backup Sump Pump
This isn’t a main pump, but it’s good to have alongside your main unit.
- Best for: Areas with frequent power outages
- Pros: Works when power is out, adds extra protection
- Cons: Higher cost upfront
Tools and Materials You’ll Need
Before you begin, gather everything you’ll need. This isn’t a job you want to stop halfway through because you forgot a tool.
Tools
You’ll need both digging and plumbing tools.
- Jackhammer or rotary hammer with a chisel bit (for breaking concrete)
- Post-hole digger or spade
- Power drill and hole saw
- Level
- Hacksaw
- Trowel
Materials
These are the main parts of the system plus the items to set it up.
- Sump pump and sump basin
- Gravel (for the pit base and sides)
- Quick-set concrete
- 1.5-inch PVC pipe and 90-degree elbows
- Check valve
- Gate valve
- PVC cement or glue
- GFCI electrical outlet (hire an electrician if needed)
How to Install a Sump Pump (Step-by-Step)
Installing a sump pump takes time, but if you follow the steps carefully, it’s doable for many handy homeowners. Here’s how to go about it, from digging the pit to testing the system.
1. Choose the Right Location
Pick the lowest spot in your basement where water tends to pool. Stay about 10 inches away from walls to avoid damaging the foundation footing. Use a marker to outline the sump basin.
2. Break Through the Concrete
Use a jackhammer or rotary hammer to cut out the concrete along the outline. This part takes effort, so wear safety gear like goggles and ear protection. Clear away any loose chunks.
3. Dig the Sump Pit
Dig deep enough to fit the sump basin with a few inches of gravel at the bottom. Use a spade or post-hole digger. The top of the basin should sit level with the basement floor.
4. Add Gravel and Place the Basin
Pour 2 to 3 inches of gravel into the bottom of the pit. Set the basin inside and check that it sits level. If needed, add more gravel to adjust the height.
5. Backfill and Pour Concrete
Backfill around the basin with more gravel, then mix and pour quick-set concrete to fill the remaining gap. Smooth it out with a trowel so it’s flush with the floor. Let it cure for 24 hours.
6. Install the Pump
Place the sump pump into the basin. If required, place a concrete paver at the bottom to raise the pump slightly. Make sure the float switch moves freely.
7. Connect the Discharge Pipe
Attach a short vertical PVC pipe to the pump’s outlet. Add a check valve to prevent water from flowing back in. Then add a gate valve and connect more pipe to run out of the basement wall.
8. Drill a Hole for the Discharge Line
Use a hole saw to drill through the rim joist or concrete wall to lead the discharge pipe outside. Seal around the pipe opening with waterproof caulk.
9. Run the Pipe Outside
Extend the discharge pipe away from the foundation. You can aim it toward a downhill area, a dry well, or drainage zone. Use elbows as needed to adjust the angle.
10. Plug It In and Test
Plug the pump into a GFCI outlet. Fill the basin with a few buckets of water. The float should rise and trigger the pump. Watch it discharge water and shut off when the basin is empty.
Optional Upgrades for Better Protection
If you want more peace of mind or live in an area with heavy rain or frequent power outages, consider adding a few extras.
- Battery backup system: Keeps your pump running even during a power outage
- Water alarm: Alerts you when the water level rises too high
- Dual pump setup: One pump handles regular use, and the second kicks in if the first fails or water comes in too fast
- Dry well or drainage pit: Helps manage water if your yard doesn’t have good runoff
When to Hire a Pro Instead
Installing a sump pump can be a solid DIY project, but it’s not for everyone. If you’ve never handled concrete, plumbing, or electrical work, it may be worth calling in a pro.
An experienced contractor can get the job done faster and with fewer mistakes. This is especially helpful if your basement has a finished floor, tight access, or unusual plumbing needs. Also, electrical work like installing a GFCI outlet should always be done by a licensed electrician.
If you’re unsure, get a few quotes and see what fits your budget and comfort level. Sometimes paying a little more upfront saves you from bigger repairs later.
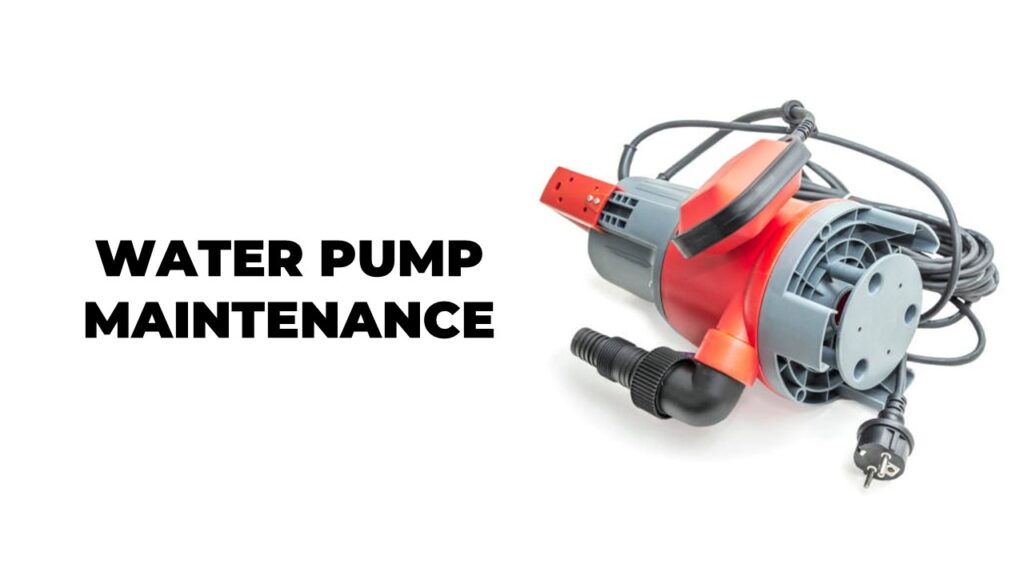
Maintenance Tips to Keep It Running Smoothly
Once your sump pump is in place, regular upkeep will keep it working when you need it most.
- Test the pump every few months by pouring water into the pit
- Clean out any debris from the pit and the pump’s intake
- Check the float switch to make sure it’s moving freely
- Inspect the check valve and discharge pipe for leaks or blockages
- Replace the backup battery (if you have one) every 2–3 years
- Keep the discharge point clear of ice, leaves, or dirt during winter and storms
Common Sump Pump Installation Mistakes to Avoid
Even a small mistake can cause your sump pump to fail when you need it most. Here are some common errors to watch out for during installation:
- Placing the pit too close to the foundation wall, which can weaken the footing
- Skipping the check valve, leading to water flowing back into the pit
- Using undersized or poorly sloped discharge pipes
- Forgetting to seal the discharge hole properly
- Not testing the float switch before sealing everything up
- Plugging the pump into a non-GFCI outlet or using an extension cord
Cost of Installing a Sump Pump
The cost to install a sump pump typically ranges from $300 to $600 for DIY materials and up to $2,000 to $8,000 for a full professional installation.
If you’re doing it yourself, your main expenses include the sump pump, basin, piping, concrete, and tools. Renting a jackhammer and hiring an electrician for the GFCI outlet may add to the cost.
A full pro install will be higher because it includes labor, electrical work, concrete cutting, and sometimes additional drainage improvements. While more expensive, a pro can help ensure the job is done safely and up to code.
Conclusion
Installing a sump pump can be a great way to protect your basement from flooding and moisture problems. It takes planning, the right tools, and careful setup, but many homeowners with basic DIY skills can handle it.
From picking the right pump to digging the pit and running the discharge line, every step plays a part in how well your system works.
If it feels overwhelming, don’t hesitate to bring in a professional. Either way, a good sump pump setup can save you thousands in water damage repairs down the road.
FAQs
Can I install a sump pump myself?
Yes, many homeowners can do it with the right tools and patience. But tasks like concrete cutting or electrical work may be better left to a pro.
How deep should the sump pit be?
Most sump pits are about 2 to 3 feet deep, enough to fit the basin and a gravel base, with the top flush to the floor.
Do I need a permit to install a sump pump?
In some areas, yes—especially if you’re adding electrical work. Check with your local building department before starting.
How often should I test my sump pump?
Every 3 months is a good rule. Pour water into the pit and make sure it turns on and off properly.
What size pump do I need?
For most homes, a 1/3 to 1/2 horsepower pump is enough. Larger spaces or high water tables may need more power.
At our core, we’re a group of passionate water pump, sump pump enthusiasts. We dive deep into the world of any type of water pumps around us. We try to provide as much value to the readers with our information and how to blog articles as possible along with proper information-based reviews as well.